One Tree Hammock Setup with Paracord

Have you ever wanted to set up a hammock, only to find that there are no two trees close enough together? This one-tree method allows you to use a single tree or pole to hang a hammock.
Much of the idea for this system came from an Instructable by Triplezee.
Supplies Used
- Hammock (with tree straps)
- 25-30 ft. of Para-max cord.
- Paracord prusik loop
- 25 ft. of 550 paracord (optional)
- Ground anchor
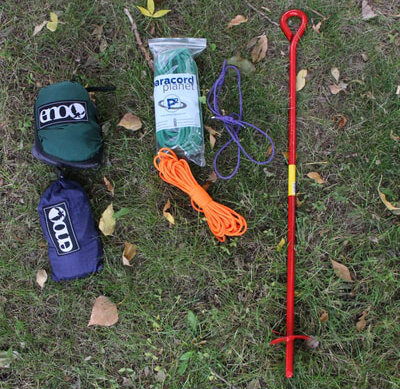
Start by locating a suitable tree. If you can find two trees within 30 ft. of each other, you are better off hanging your hammock the usual way.
If the trees are too far apart, find one with a sturdy branch about 10 ft. off the ground to loop your rope over. The higher the better, honestly.
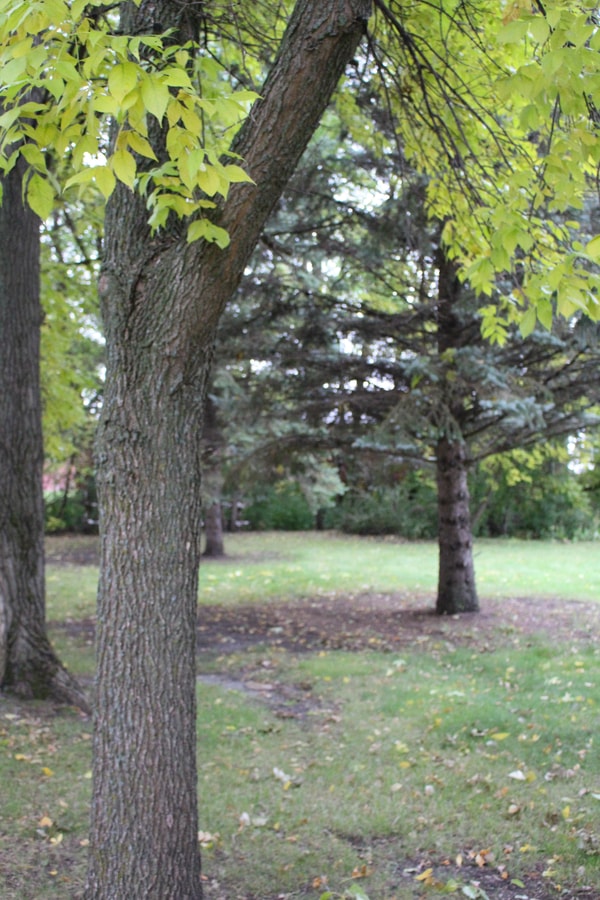
If you cannot find any trees with a branch like this, you can also climb up the tree to secure the para-max to the truck, aim for 10-15 ft. off the ground.
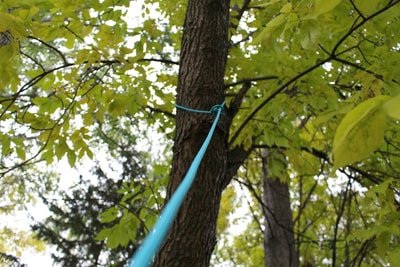
Once you have located a tree, throw the para-max over the desired brach. If the rope is too heavy to throw well, you can tie the 550 paracord to the end of the para-max cord. To add a weight to the end of your paracord, you can use the plastic bag it comes in as a throw bag.
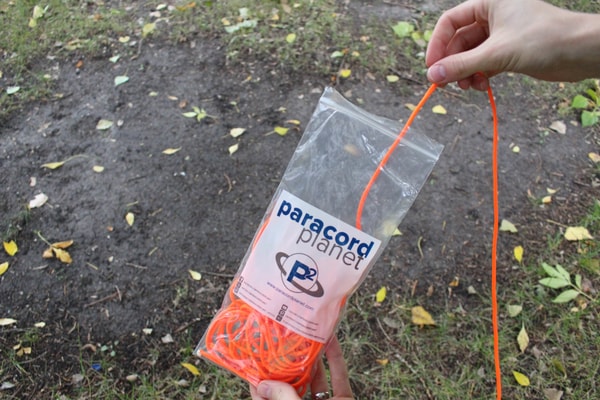
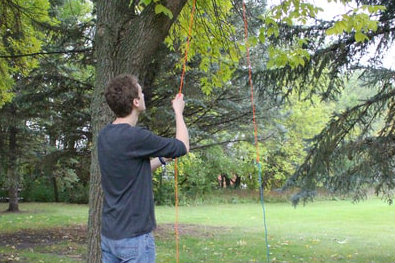
However you do it, pull the para-max over the branch.
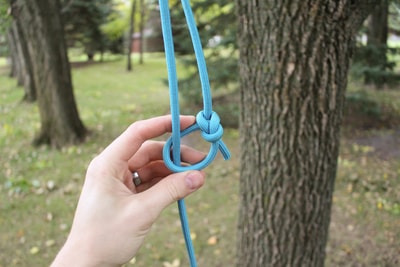
Tie a bowline in one end and stick the other end through the loop.
Cinch the knot tight against the branch.
Now it's time to establish an anchor point that takes the place of a second tree. Walk about 20 ft. away from the tree and screw in your ground anchor. I found out the hard way that a large tent stake was not enough to hold my weight. Instead, I used an induxtrial strength ground screw. You can find lighter-weight anchors to use if you plan to take this system backpacking.
Insert the end of your para-max line through the anchor eyelet.
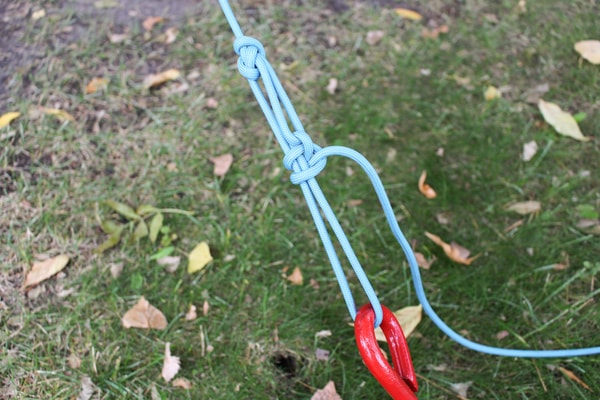
Tie an alpine butterfly knot in the bight about 2 ft. before where the rope reaches the anchor.
Alpine Butterfly
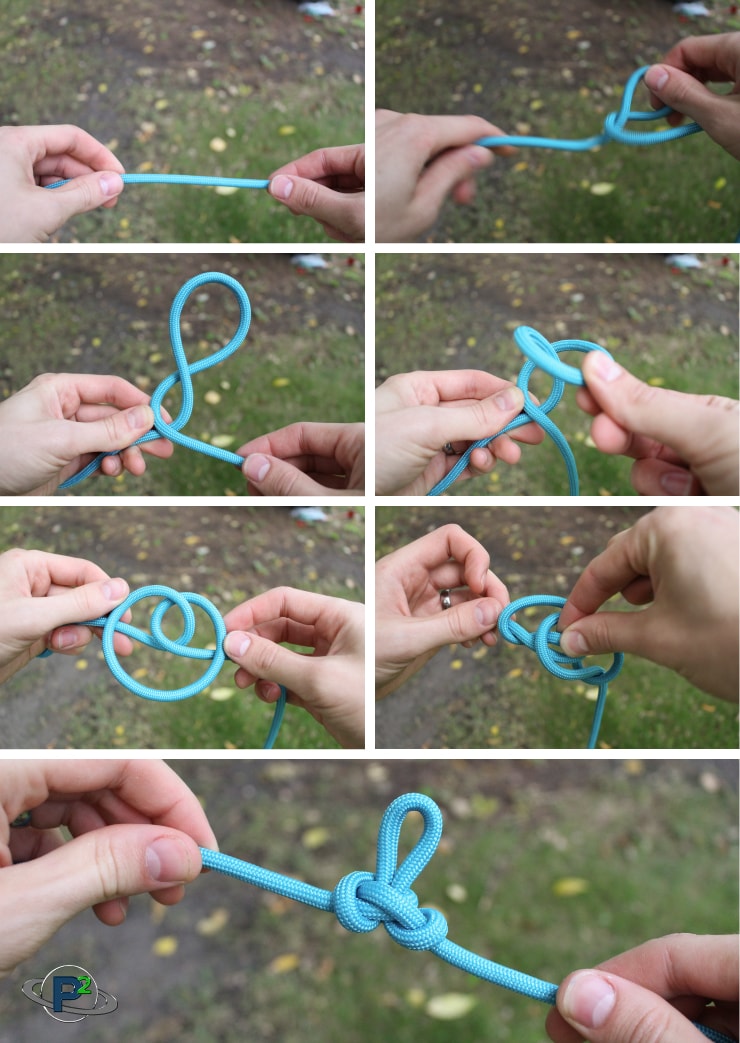
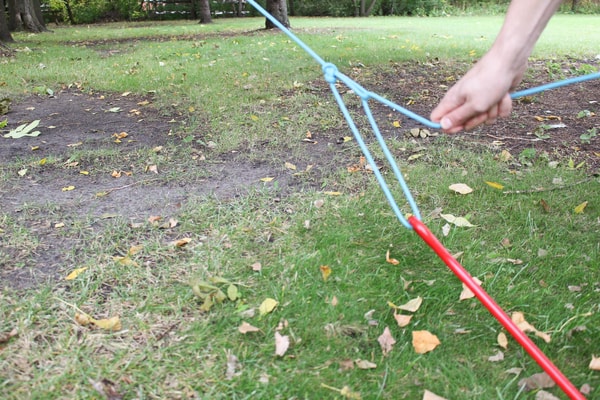
Loop the end of the para-max back through the loop of the alpine butterfly. This creates a "pully system" of sorts to pull the line tight. The tightness of this line determines how well your suspension will work. Once you have pulled the line as tight as you can, secure the end with two half hitches without letting the line loosen.
Now it's time to hang your hammock. Use a tree strap system or a doubled-up length of paracord to attach your hammock to the tree at about eye level.
The other end is trickier. Attach the prusik loop to the para-max using a friction hitch or "prusik knot". If you are unsure of the proper way to do this, follow our quick prusik tutorial.
With that in place, hanging the hammock is pretty simple. Attach one tree strap to the tree at about eye level. You will not use the other tree strap. If you do not have tree straps, you can use paracord to secure your hammock to the tree and carabiners to hook up your hammock.
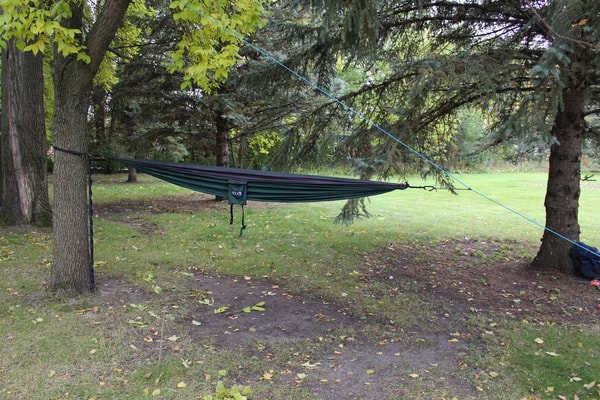
Attach the other end to your prussick loop. Your hammock should be stretched tight at this point. It it is not, your butt will end up on the ground when you try sitting in it.
I sat in the hammock with this setup for several minutes and the system held very well. However, I had a hard time getting the hammock to sit level as the treeless side had a lot of give in it.
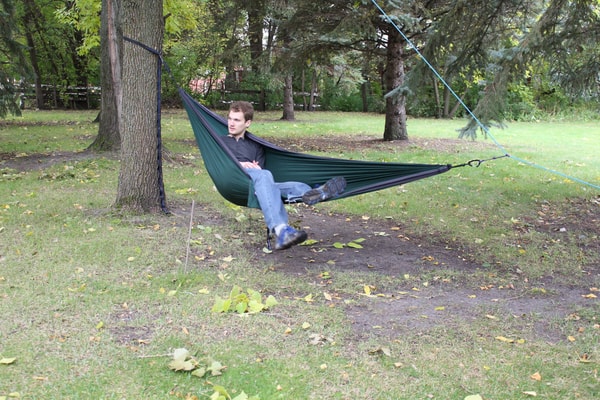
While this system is functional, it's probably more useful in your backyard than in the wilderness. Several modifications would be needed in oder to make this a good system for overnight camping:
- You should definitely buy a compact ground anchor. It would not be practical to add 10 lbs. of equipment to your pack.
- Use a static rope for your anchor line. This would prevent the sagging that you can see in the last image.
What do you think? Are you going to run out and try this? or Is your curiosity now satisfied?


