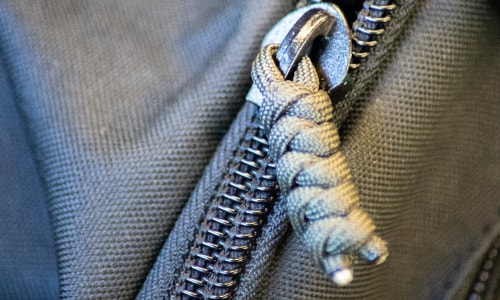
Replace Zipper Pulls with Paracord

Whether you have a broken zipper pull or just want to change your zipper pulls out for something that better matches your style, this guide will take you through making your own—start to finish. Don't be overwhelmed by the options. Make it how you want!
Working with Paracord
If you have never used paracord before, there are some things you should know first. Paracord is a kernmantle rope. This means that it has smaller cords inside of a protective outer sheath. Because paracord is made of nylon, the ends can be heat sealed to prevent fraying. After cutting it, hold the ends near a flame, such as a BIC lighter, until they are slightly melted.
Now, onward to zipper pulls:
1. Choose Your Difficulty
First off, there are two levels to replacing zipper pulls. Most people opt for a soft replace and just take the old cord off of the metal tab and replace it. Others do a full replace and actually cut the metal pull tab off of the slider and replace it with a quieter cord pull.
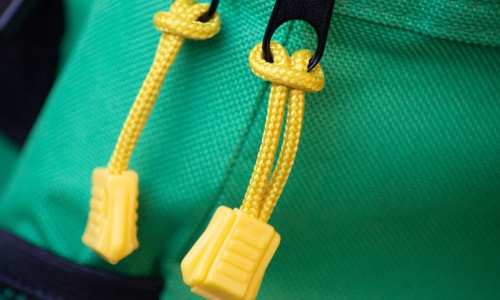
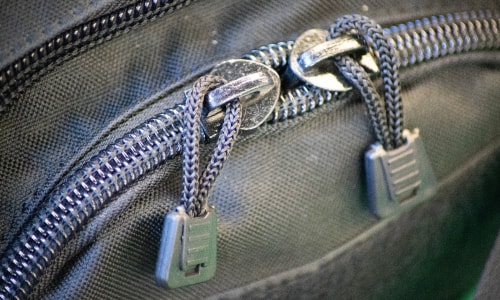
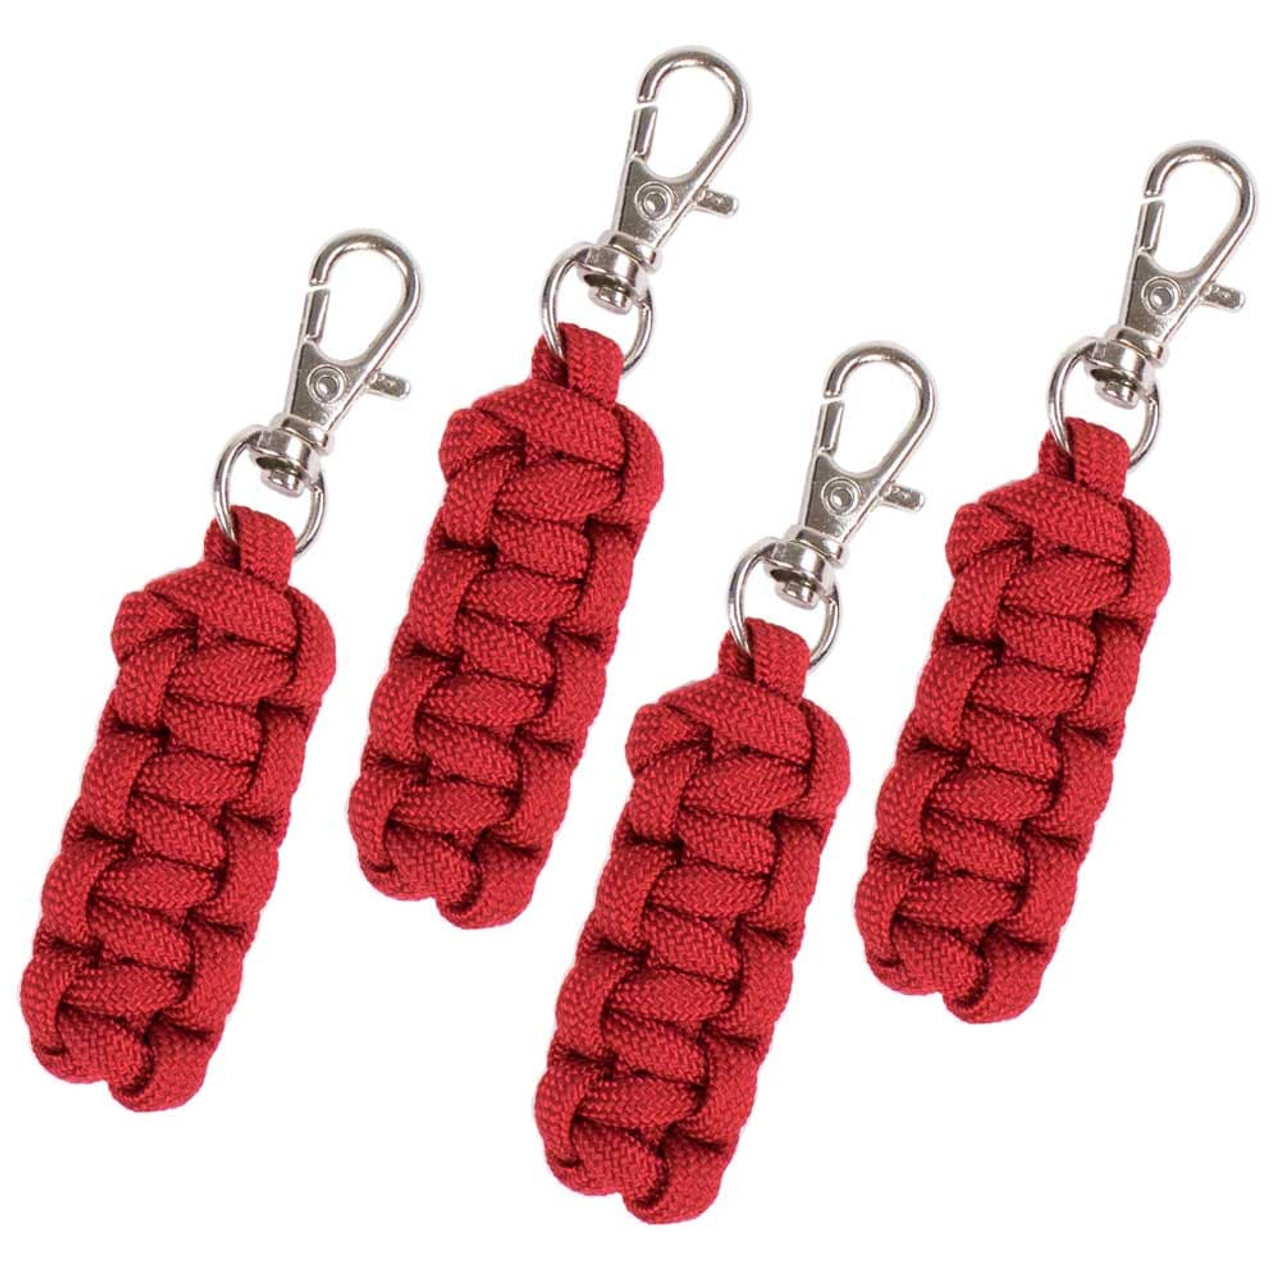
Replacing zipper pulls with DIY ones is not difficult, but if you want to go for a simpler method, you can choose to buy premade zipper pulls. We carry them in a couple different styles: Simple paracord pulls, cobra weave clip-on pulls, and one-piece rubber pulls

2. Choose Cord
If you've decided to make your own, you next need to choose what size of paracord to use. Depending on the size of your zipper, you may want to use either a smaller or larger cord. Make sure the cord will fit through the holes it needs to by using the chart below. These are the approximate diameters of Paracord Planet cord. Other brands may differ.
| Cord Name | Diameter | Description |
|---|---|---|
| 95* | 1.75mm | Thin, flexible |
| 275* | 2mm | Thin, stiff |
| 325* | 2mm | stiff, textured/bumpy |
| 425* | 3mm | round, flexible |
| 550* | 4mm | flexible, lays slightly flat |
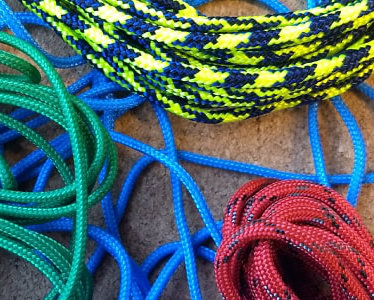
*The cords are named for their tensile strength. This means that 95 cord can lift 95 lbs before breaking. All of these cords are strong enough to use as zipper pulls.
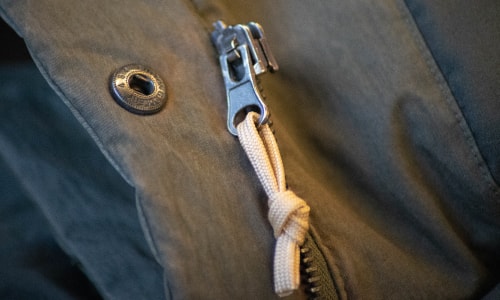
You can also take the core out of any size of paracord. Then the cord will lay flat and make smaller knots. To save time, you can buy coreless paracord in the store.
3. Chose Style
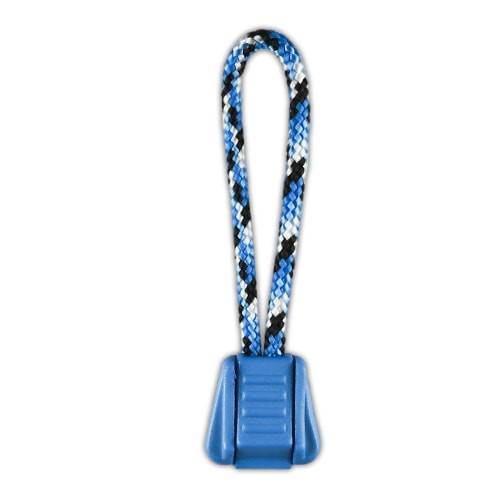
Simple Lanyard: This is probably the most common type of cord zipper pull. It involves a loop of string with some kind of closure at the end. It dangles away from the zipper, making it easy to reach and grab. To make one of these, all you need is some paracord and eiter a cord end or knot.

Tab: This version of a zipper pull is found on a lot of outdoor equipment and rain jackets. It has either minimal cord or no cord at all, and has a flat tab for added grip. This flat style can be replicated with a couple of different knots
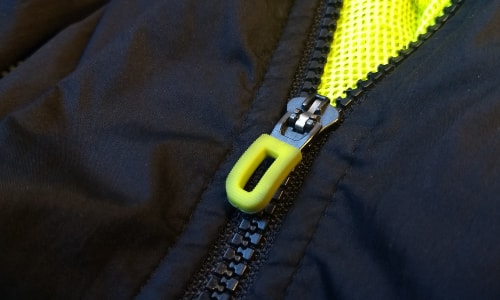
Finger Loop: On luggage and tactical gear, you will sometimes find a looped pull. This provides a surer grip. Just loop a finger through and pull. To make this kind, you will need either a metal ring, or some heat shrink tubing.

4. Choose Attachment Method
There are two primary ways that a zipper pull can be attached to the zipper. You can either construct the zipper pull ON the zipper and simply loop it through the tab before securing the ends, or you can make the pull separately and later attach it using a cow hitch knot.
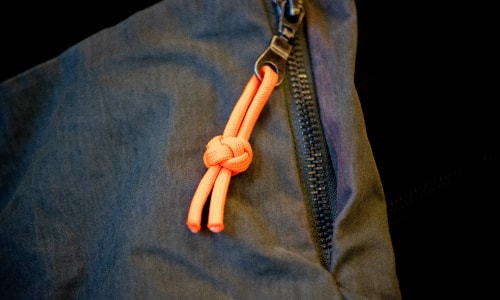

For a lower profile, or to silence the jangling of your metal zippers, you can use a few other "quiet" methods:
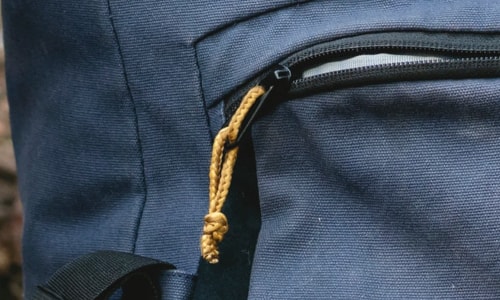
The first one is the figure 8. Loop the cord through the hole closest to your zipper. Then cross each end through the lower hole before knotting or securing the ends.
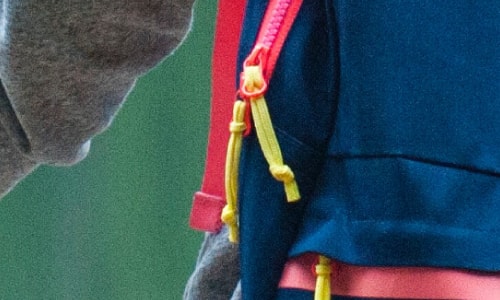
The other is a variation on the cow hitch. Fold a short piece of cord in half. Insert the fold through the hole closest to the zipper, and then through the lower hole. Put the ends of the cord through that same folded loop and pull tight.
5. Choose Cord End
After your cord is attached to the zipper, choose your closure type. These can be divided into two categories: knots and hardware. No matter which kind of end you choose, be sure to melt the ends of your cord with a lighter to keep it from fraying. If you are using cotton or other natural cord for your pulls, don't melt the ends—they will start on fire.
Knots
When people replace their zipper pulls for stylistic reasons, they often want to get away from the plastic look of their old pulls. Knots are a great way to simplify the design of your bag and give it a classic look.
An overhand knot isn't very decorative, but some people really prefer this rugged look.

A good basic knot for zipper pulls is the snake knot. You will need two of them for the knot to stay secure.
If you like a bigger ball at the end, try a diamond knot. This knot is a little bit harder to tie, but it looks very nice and symmetrical.
Last, but certainly not least, is the square knot or cobra weave. With 550 cord, this knot can make a very large pull for small or arthritic hands. With a smaller cord, this makes an intricate looking pull.
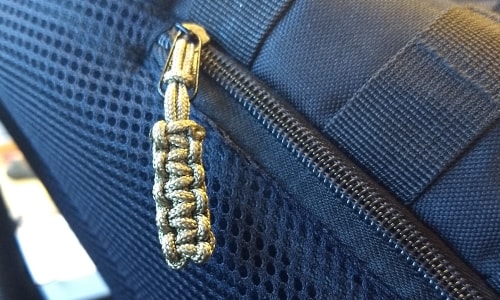
Hardware
There are more options for hardware zipper pulls than I can list here, but some of the better known are:
Plastic tabs. These come in many varieties—from standard to outlandish. Some favorites are: standard trapezoid tabs, whistle tabs, and minimalistic designs such as this black triangle pull. Check out all the rest of our zipper pulls in the store.
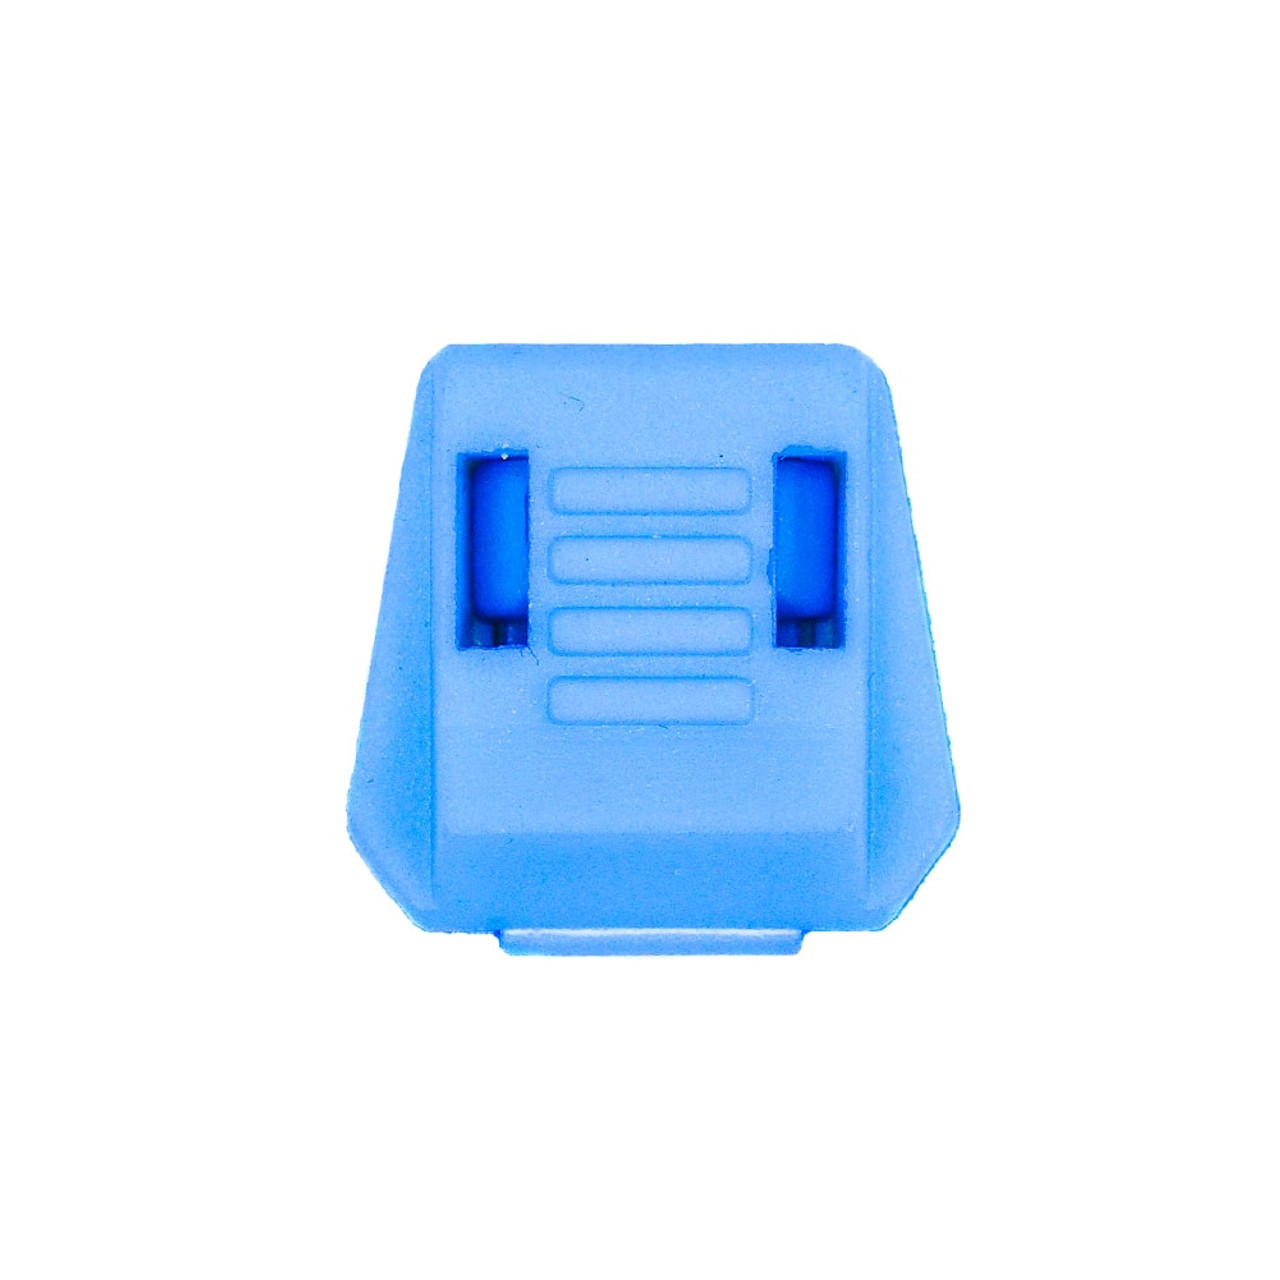
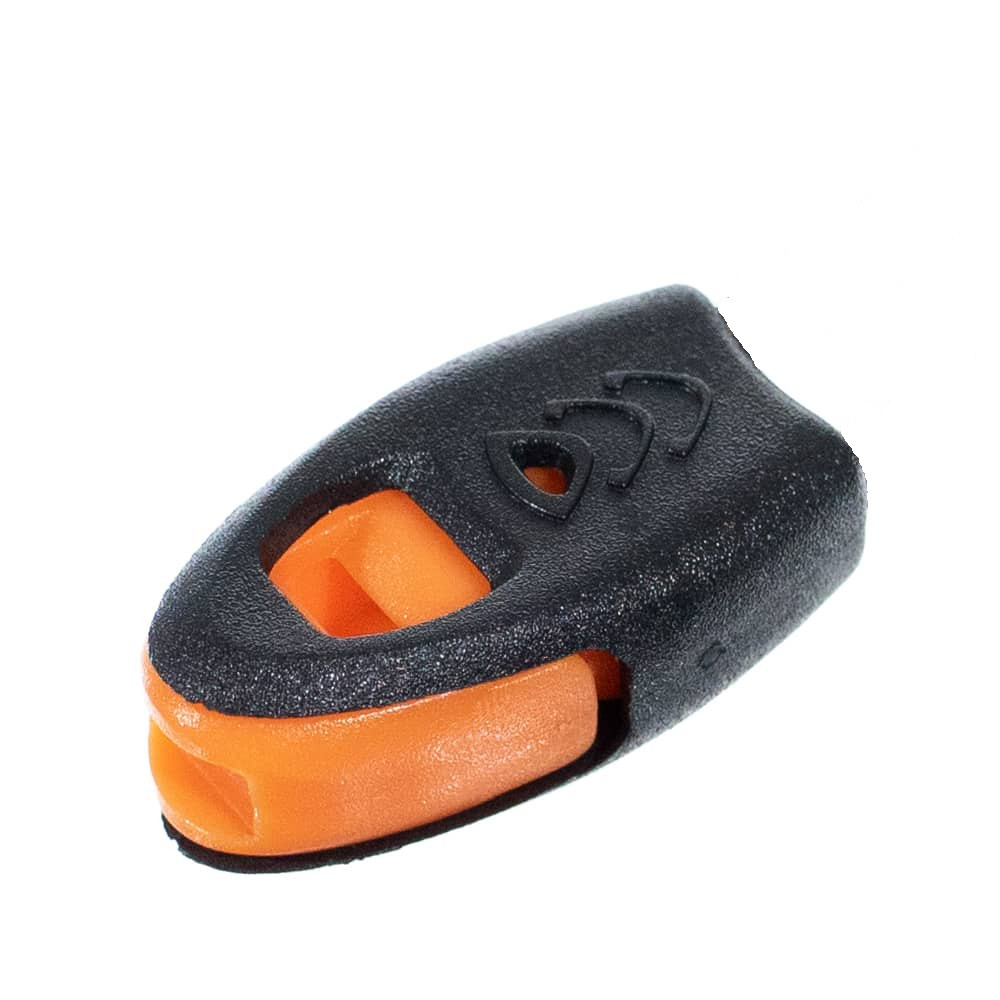

As seen in the pictures above, assembling the cord end is pretty straightforward. Just put the ends in the gripping teeth, and then slide or flip the cover shut. If you do need more detailed instructions for the trapezoid shape pulls, look at this tutorial
Heat Shrink Tubing
As a final option, you can make a very nice finished-looking pull with paracord and heat shrink tubing. (Not pictured)
With heat shrink tubing and paracord, or with a metal key ring, you can easily make your own finger loop zipper pulls.
Sometimes coats and bags come with cheap or cumbersome zipper pulls. This is an easy way to "make it your own." You get to choose how elaborate you want your zipper pulls to be, and no one will have a matching bag!
If this article was helpful, leave a comment! We'd love to hear from you.


