Truly Simple and Actually Practical

Paracord Projects for the Rest of Us
It's easy to get caught up browsing Pinterest or Google Images for elaborate paracord project ideas. Ones that we will never find the time to make. Don’t get me wrong, dreaming is great. I admire people who take on—and complete—big paracord projects. (More on that in the future!) But some of us would like a few simpler ideas that are more helpful than novel. Here are some paracord projects you don’t have to be an engineer or hardcore prepper in order to make.
All of these projects will work with #550 paracord, but I will also suggest other kinds that will work well throughout.
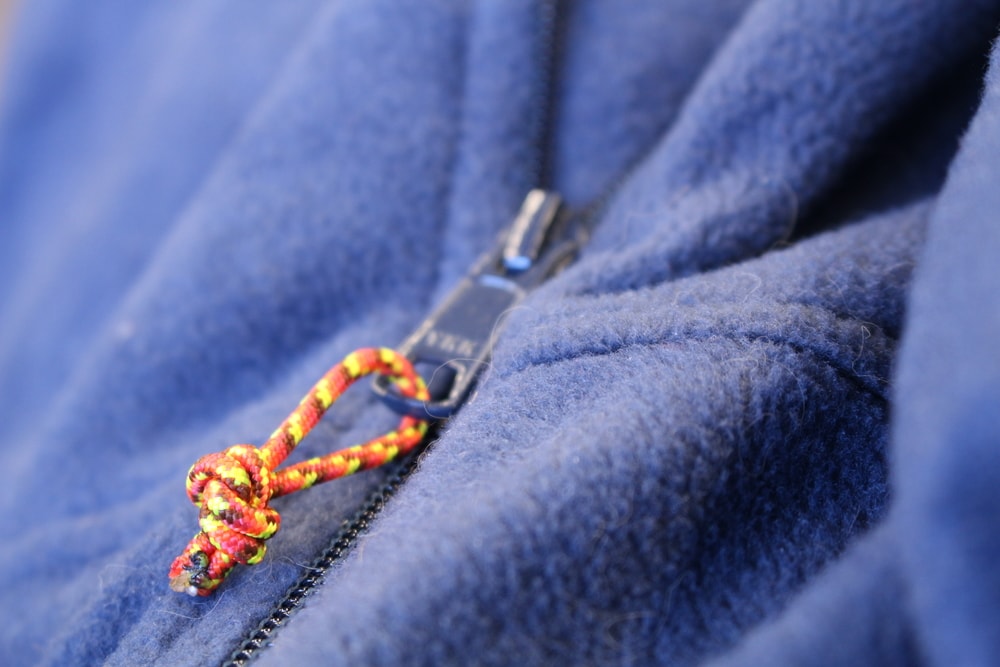
Simplest Zipper Pull
I cannot think of a simpler (or more universally practical) use of paracord. Do you have a coat, sweater, or pair of cargo pants that is missing the little metal tab or string attached to the zipper? Maybe you are about to throw it away because it's so hard to zip up, even though it's one of your favorites. Paracord is a simple and often overlooked solution.

Anything between #95 paracord and #550 paracord, as well as 1/8" shock cord will work for this one. Just loop a small amount of paracord through your zipper, take both strands, and tie them in a simple overhand knot.
If you want a more finished look, use a plastic zipper pull end. Attaching them is pretty straightforward. Here is a picture explaining how. Note: 550 cord is too thick for these plastic zipper pulls.
There are infinite variations on this paracord zipper pull, but I'm going to keep this post true to its title and stick to the simplest of designs.
Heavy Duty Replacement For Broken Laces
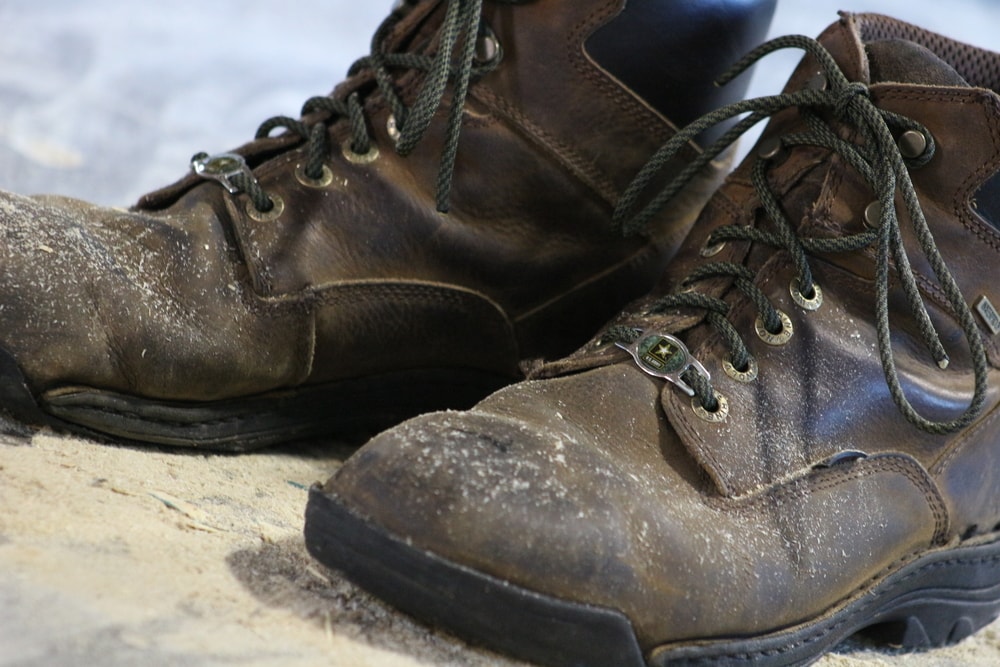
Just as easy as the zipper pull, paracord boot or shoe laces can serve as a heavy duty replacement for broken ones. Even if your existing laces are not broken, a bright color of paracord can add some flair to your footwear.
To further personalize, add some oval charms to your new laces. I added some Army ones to this pair of work boots.

Depending on the size of the shoe eyelets, #550 paracord should work for this project. However #275 paracord actually makes some nice stiff boot laces that will easily fit in the upper boot hooks. If you are looking for an alternative to tied shoelaces, try using 1/8" shock cord with a cord lock.
To begin, remove one of your old laces and measure out two pieces of paracord the same length. (unless the old lace was too short or too long, of course!) Once the new laces are cut, melt the ends and use a pliers or the side of a scissors to squish/roll them for easy threading. After that, all that is left is replacing your shoes. This is why I leave one of the old laces in until I am able to copy it for lacing up the other shoe.
Keep Track of Your Glasses

Are you, or maybe your kids, always setting down their glasses and losing them? Make your own glasses retainer to keep track of them. Not only will these look cooler hanging around your neck than the ones you can find in the store, they are truly easy to make.
#95 paracord works particularly well for this one, but anything between #95 and #550 will work well.
This project takes advantage of an adjustable knot (noose). Don't let the noose knot scare you away, even though we are talking about a cord to go around your neck! The noose itself will not be going around your neck, and it's really only a half-noose anyway. A traditional noose has 7 passes, we will only use 3.
I made one out of #95 paracord, and each knot took about 5" of cord. To determine how long to cut your cord, put some around your neck and position it where you would want the glasses to hang. Then add about 10-12" to that length for the knots. You can find the instructions here for constructing the knot. Make one on each end, cinch them around your glasses like in the picture, and you're done.
A Necklace That Wont Strangle You
For years, I wore a simple paracord necklace with an adjustable knot in the back. I liked the rugged look of it. Because it was made of rot-resistant paracord, I didn't have to worry about getting it wet. Then a friend warned me: "You probably shouldn't wear a necklace that can support your weight. What if it got caught on something? It could strangle you!" However slim the possibility of that happening, I eventually stopped wearing the necklace. After all, people have lost fingers because their wedding rings have got caught on machinery!
I just recently discovered these breakaway buckles and barrel connectors. Both of them will pull apart under strain. If you are keeping something valuable on your necklace, such as a wedding ring, I would suggest the breakaway buckle. It takes a lot of force to pull it apart. For a slimmer profile, but a less secure closure, use the barrel connector.
For the breakaway buckles, you can use the same knot as the glasses retainer above. The barrel connectors are even easier. If you don't know how to melt and flatten the cord ends, see this handy video.
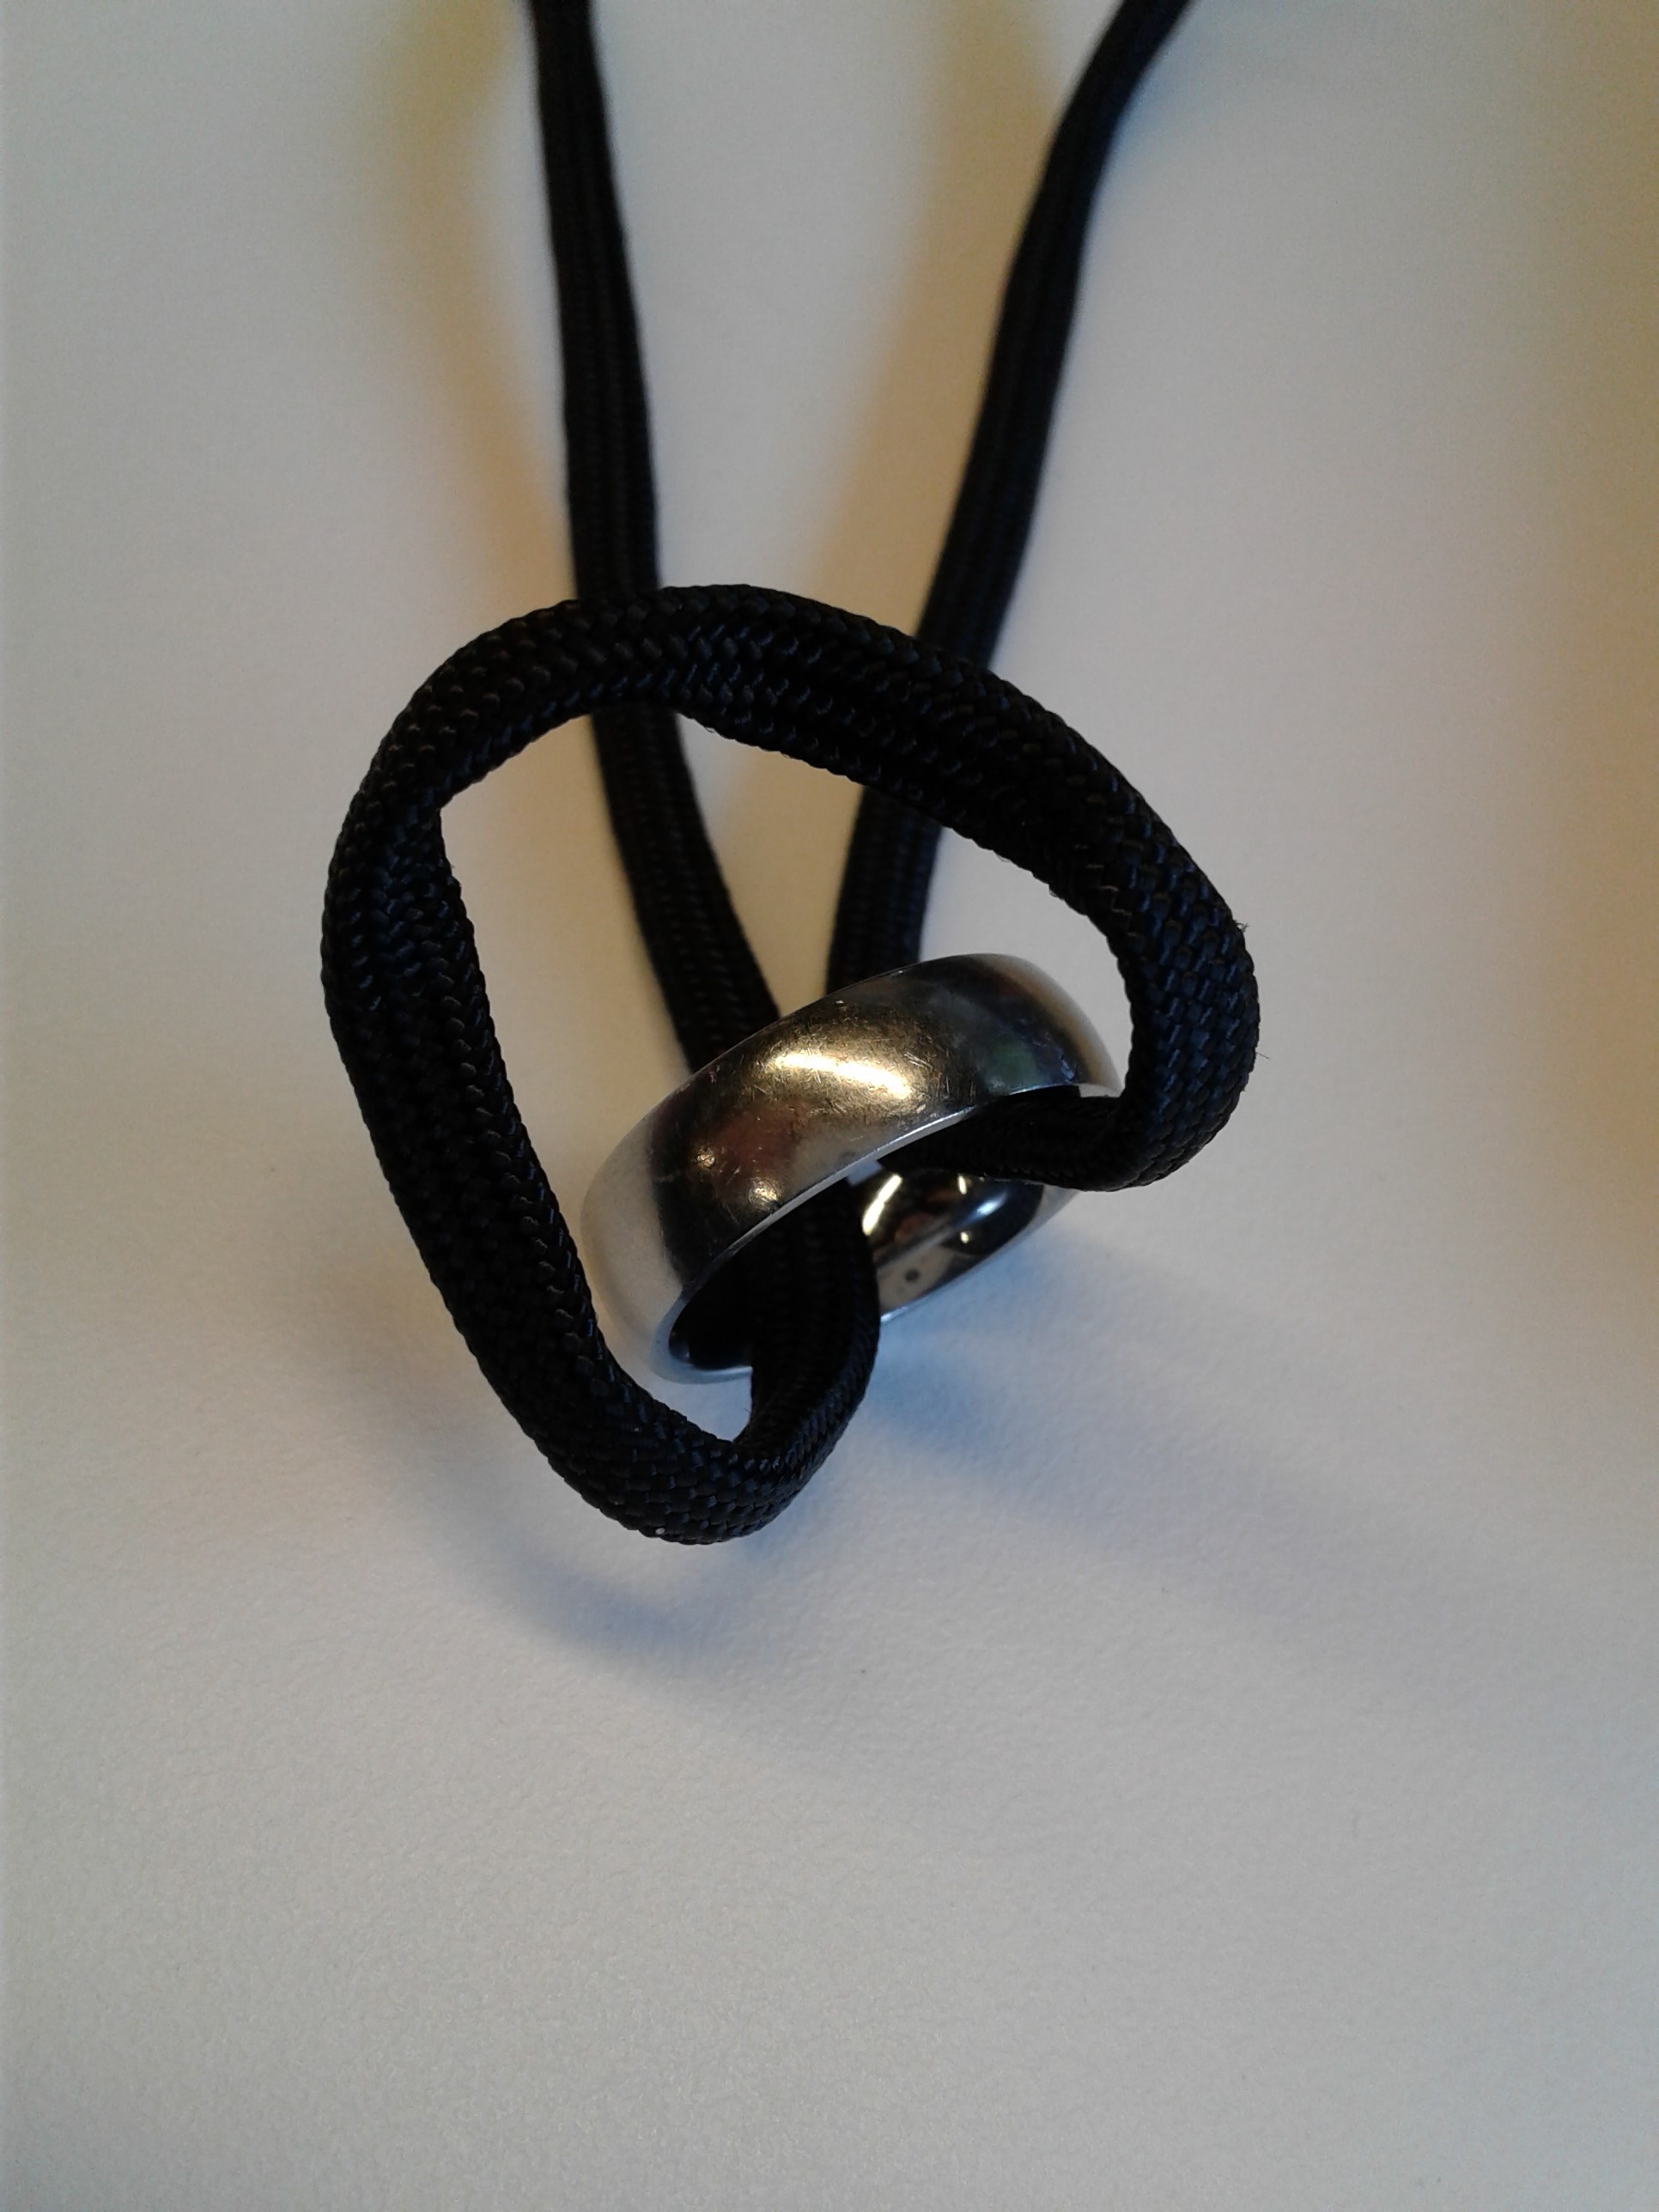
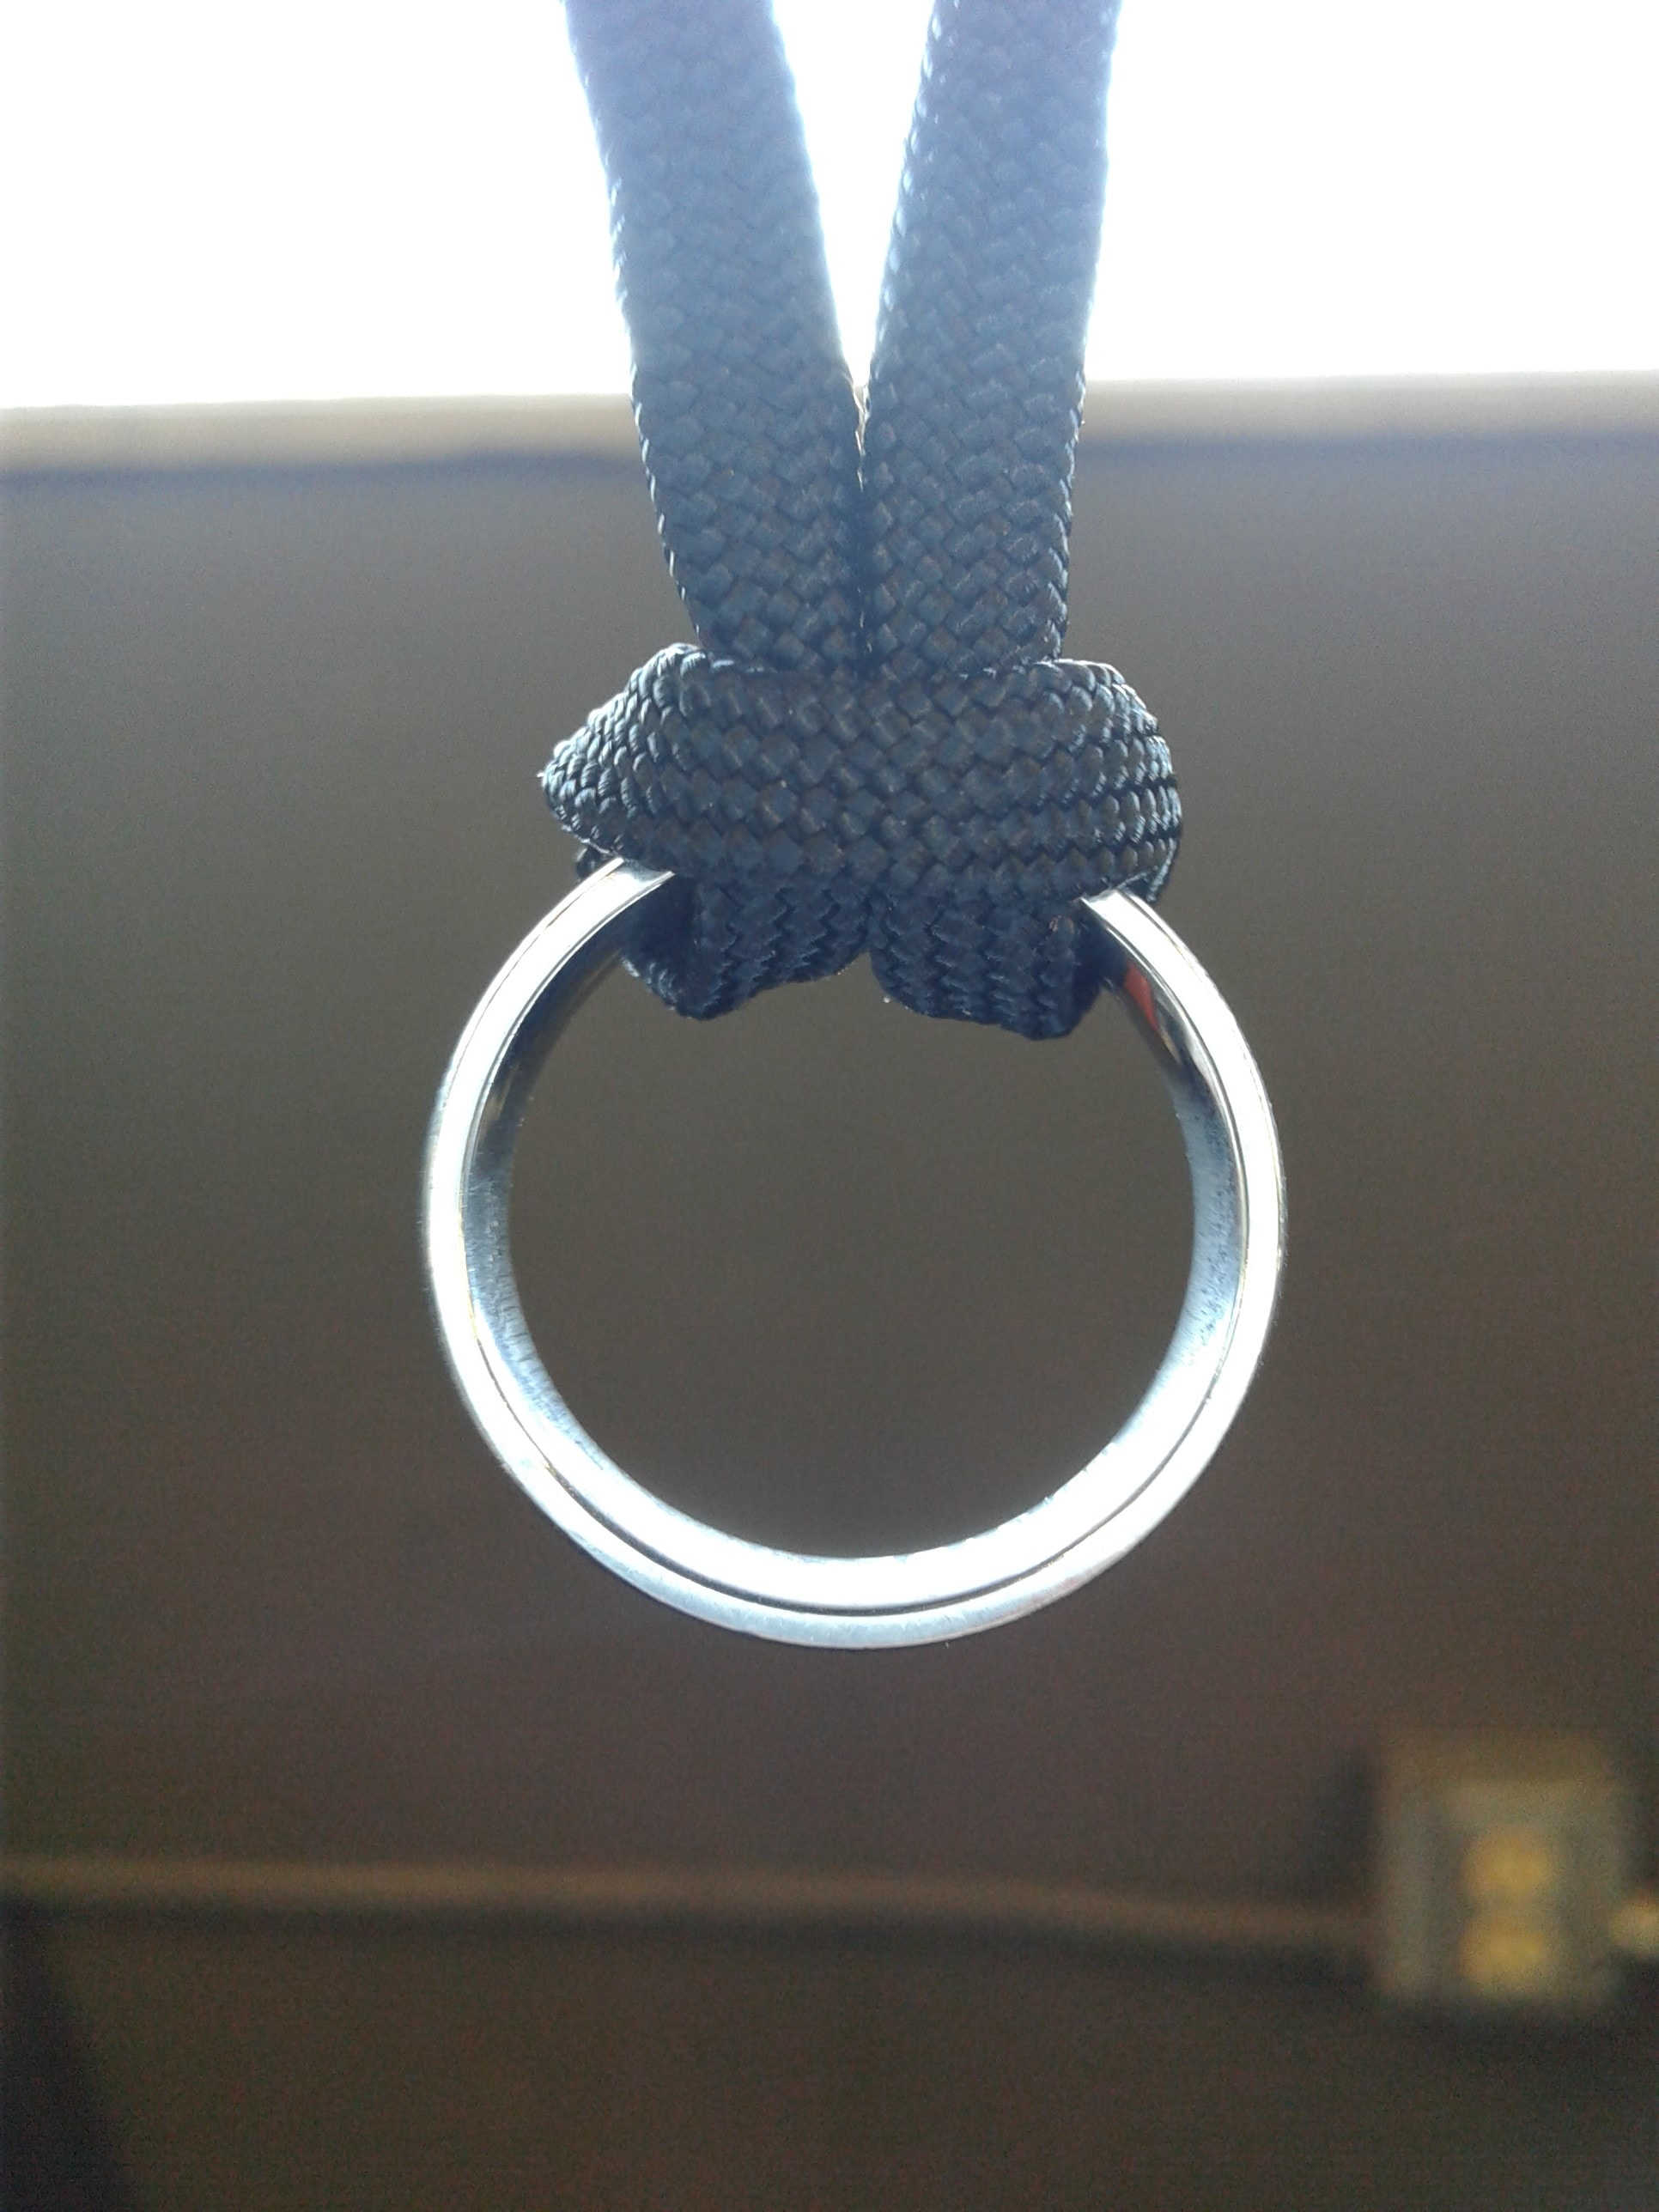
If you are keeping a ring on the necklace, or something else with a forward-facing loop, use a larks head or cow hitch knot instead of just stringing it on the cord. I do this for three reasons: First it makes the ring lay flat instead of poking you in the sternum. Second, if the necklace were to come off, it would keep your ring with the necklace, making it easier to find. Lastly, it keeps the ring from sliding around on the necklace, which also keeps the closure/buckle in the back.
To attach a ring or pendant with the cow hitch, insert the bight (loop) through the hole. Then reach through the resulting loop and pull the object through. That's all there is too it.
  
|
Are you a paracord dreamer that never makes anything because all of your plans are too elaborate? These everyday projects should give you a place to start—and they might just inspire you to try something bigger!
'Til next time,
Luke


